My Top 10 VST Plugins for producing & mastering electronic music

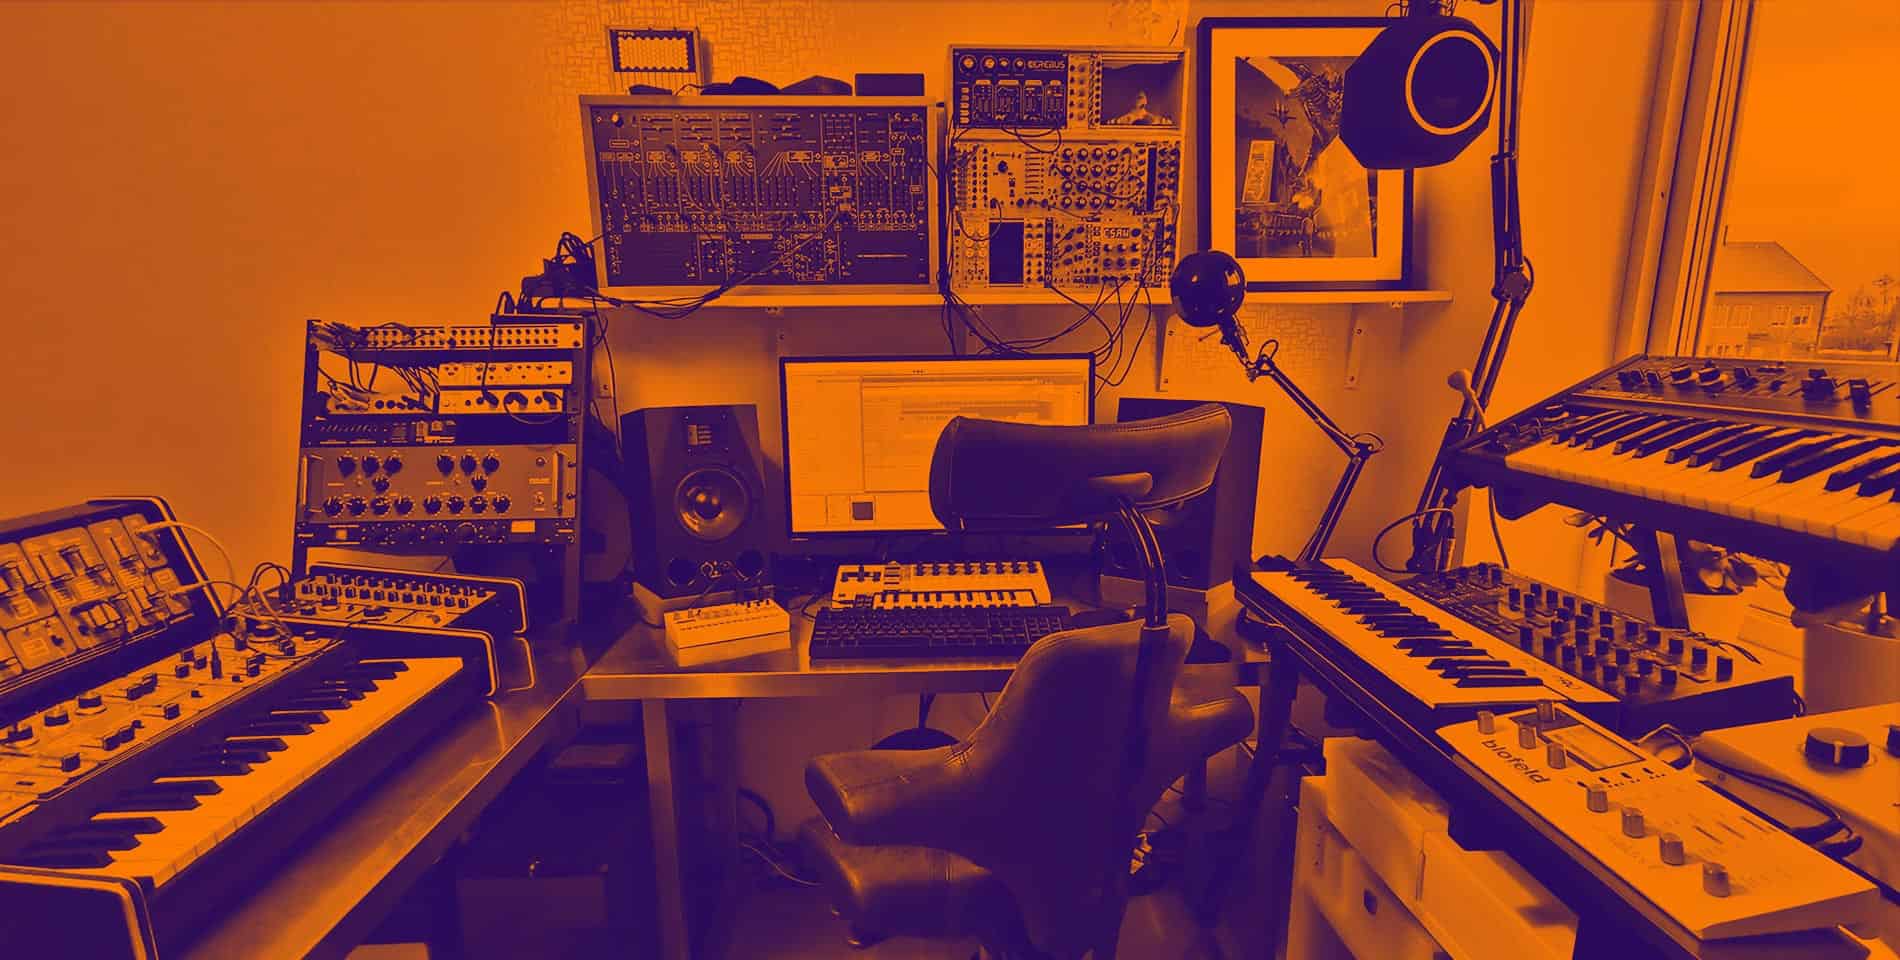
My studio has gone through some relevant changes since the release of my last album Focus in 2017.

Even though one or two pieces of hardware have found new owners the biggest change for me has been on the software side of things. To be honest, I wasn’t really super happy with my setup a couple of years ago. Often I would find that the composing of a tune wouldn’t take that long but the process of getting the right sound and master would take forever. So for the last couple of Black Fridays and all the other sales surrounding them, I have been trying out and buying what I believe is a much better set of tools to use in my creative process of making music.

This is my very personal list of my top 10 VST plugins right now (Ok actually one is not a plugin, but anyway..)

In no particular order, they are all very very good. Ok here we go.


Output Arcade

What it is

Arcade is a loop synthesizer that lets you perform and manipulate loops in real time. New sets and loops are added continuously so there is always something new to keep you inspired. The variation of the different kits and loops is very impressive. I wouldn’t use everything in there in my music but it has more than enough goodies to keep me as a happy subscriber.

What I use it for

So far I have used a couple of vocal hooks that I added my own effects to and also various sounds and snippets here and there. Arcade is now my go-to tool when I’m kind of stuck in my old ways and want to introduce something fresh and unexpected. I’ve found that I don’t always keep the sounds from Arcade in a tune, but that they instead served as a scaffolding for building something else.


Arturia Rev Plate-140

What it is

It’s a plate reverb with three modes, adjustable decay-time and vacuum tube driver emulation. This was Arturia’s free Xmas gift for 2019. For some reason I’ve never really liked plate reverb, but this one.. WOW!

What I use it for

It has a very warm big sound that I can use for basically anything. One example is I played a typical lead-sound on my Sidstation, then smacked some of this plate on top of it and suddenly I had something that sounded like a strange massive string-like ensamble.


Valhalla Vintageverb

What it is

Valhalla VintageVerb is a postmodern reverb plugin, inspired by the classic hardware digital reverbs of the 1970s and 1980s. Actually I could write about any of Valhallas effect plugins here. They are that good. I also frequently use Valhalla Shimmer and Delay in my music.

What I use it for

Basically everything. It was my go-to reverb on Focus and it still is with the music I’m making now for my next album.


Waves LoAir

What it is

LoAir is a super simple sub-harmonic generator. It’s used for not only enhancing your low end but also adding new where there previously wasn’t any.

What I use it for

I use it mainly to add a nice naturally sounding sub to kick drums and basses. This used to be a very tricky process where I would spend hours of tweaking the EQs and compression and still not getting it quite right. With this plugin it’s super easy to get that extra bottom we all like and desire.


Soundspot Halcyon

What it is

Halcyon is a Mid/Side Saturation plugin used for adding harmonics and warmth to a sound.

What I use it for

Halcyon is my new go-to plugin for saturation. When a sound is flat or dull and EQing doesn’t work, I add just a little bit of saturation to it and the result is usually something much more interesting.


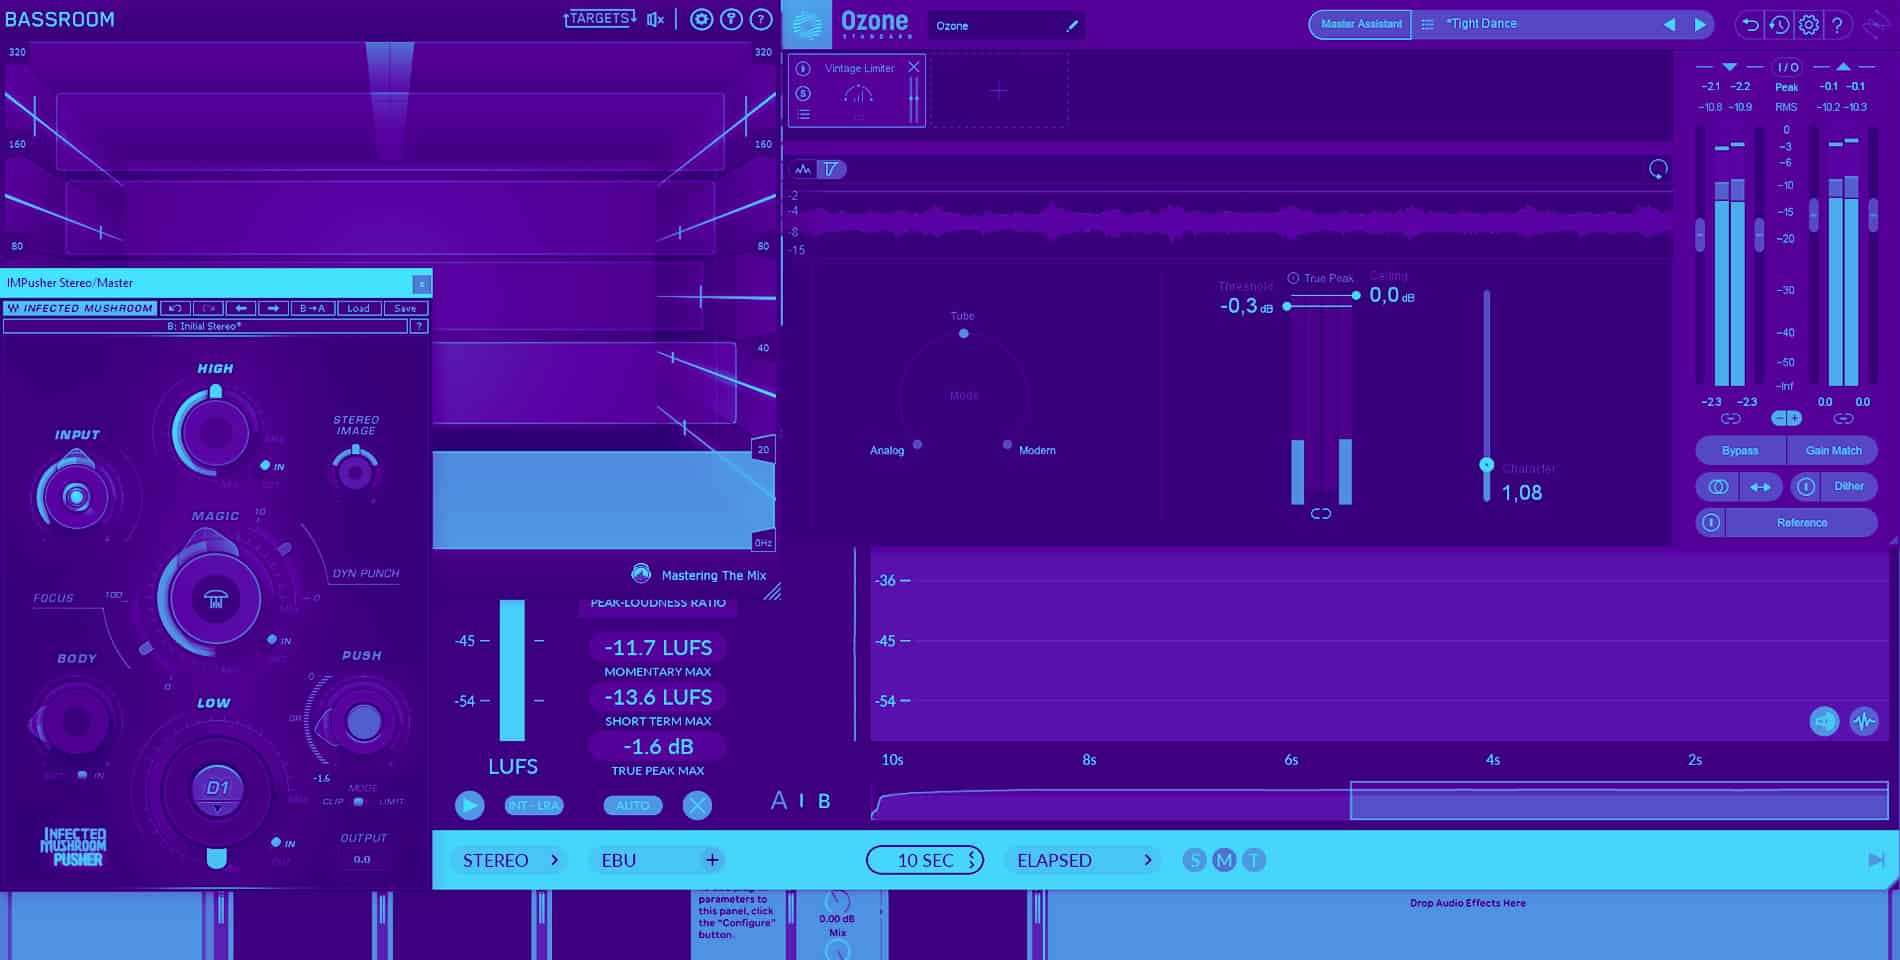
Mastering the mix Bassroom

What it is

Bassroom is a final mix and mastering EQ that you use to get that perfect lo-end. The interface is easy and the presets are good. As if that’s not enough you can also import reference tracks to help you get as close as possible to your favorites.

What I use it for

It is always the first plugin on my master channel, where I use to get a less muddy and tighter lo-end. Usually I don’t have to tweak it that much, really. It just sits there and does its thing. Pretty amazing if you ask me.


Waves Infected Mushroom Pusher

What it is

Pusher is an innovative multiband sonic enhancer and limiter/clipper used mainly for mastering. The interface is very simple with a just a few knobs to turn, but you soon discover that there is a lot of impressive sound sculpturing going on in the background. It looks like a toy but definitely sounds like a pro tool.

What I use it for

This is the second plugin in the chain on my master channel. Pusher takes care of a wide range of mastering tasks that you previously typically would need maybe four, five other plugins to do. When I first tried out the free version I was a bit sceptical. I have been an avid user of Izotope Ozone since version 5 and didn’t know what to think of these new types of plugins that demands you surrender control to a couple of buttons and knobs. I feared I maybe wouldn’t be able to get exactly the type of sound that I wanted. How wrong I was. It’s an amazing plugin for mastering and it’s super easy to get a pro mastered sound out of it. And it saves A LOT of time.


Izotope Ozone 9

What it is

Ozone is one of the leading tools for mastering with tons of controls and literally everything you need. Version 9 has AI-powered assistive audio tools that gives you an instant starting point. Also you can load your own reference tracks and have Ozone adjust the levels accordingly.

What I use it for

As I wrote earlier Ozone was previously my number one choice for final master. I used version 7 for all the tunes on Focus. Today it is the third plugin on my master channel chain, where I typically use its analog limiter, adjusting it to make sure the LUFS are below the Spotify recommendations. The new reference track function seems very good though so I might use that more in the near future.


Youlean Loudness Meter 2

What it is

Youlean is a plugin for measuring Loudness on a master channel. It helps you to find the true perceived loudness of your audio and prepares it for TV or streaming services release. Back in the day, the thing about Loudness was you wanted as much as possible of it, because you wanted your track to be loud, or at least as loud as the others. This was before streaming became a thing. Now it’s the other way around. You don’t want your track to have too much loudness because then the streaming services, like Spotify will lower its volume so that it sounds quieter than other tracks on the service.

What I use it for

Youlean is my final plugin on my master channel. I use it to make sure the LUFS (Loudness Unit Fullscale) levels on the final master is on or slightly below the recommendations for streaming.


Mastering the mix Expose

What it is

My final recommendation is actually not a plugin, although I wish it was. Expose is a standalone application used to expose potential technical problems with a final master. Drag and drop a sound file onto it and it will analyze and report back any issues with loudness, phasing and more.

What I use it for

When the final master of a track is done I export from Ableton live and drop the file into Expose to test if it’s ready for streaming. I admit it may be a bit of a tedious process at times – having it available as a plugin would be very beneficial. Still I rather do it this way than discovering some problems -after- the track has been released on the streaming services.

Top 10 movies of 2019 according to me

It’s that time of the year again, so without further due here is my list of top 10 movies of 2019. A few of them are actually from 2018 but since they weren’t shown or released until 2019 in Sweden I’ve included them in my list. Here we go.

1. Parasite

Directed by Bong Joon Ho
Stars Kang-ho SongSun-kyun LeeYeo-jeong Jo

2. Shoplifters

Directed by Hirokazu Koreeda
Stars Lily FrankySakura AndôKirin Kiki

3. Joker

Directed by Todd Phillips
Stars Joaquin PhoenixRobert De NiroZazie Beetz

4. The Lighthouse

Directed by Robert Eggers
Stars Willem DafoeRobert Pattinson

5. The Favourite

Directed by Yorgos Lanthimos
Stars Olivia ColmanEmma StoneRachel Weisz

6. Burning

Directed by Chang-dong Lee
Stars Ah-in YooSteven YeunJong-seo Jun

7. Upgrade

Directed by Leigh Whannell
Stars Logan Marshall-GreenMelanie VallejoSteve Danielsen

8. Midsommar

Directed by Ari Aster
Stars Florence PughJack ReynorVilhelm Blomgren

9. Dolemite is my name

Directed by Craig Brewer
Stars Eddie MurphyKeegan-Michael KeyMike Epps

10. Apollo 11

Directed by Todd Douglas Miller
Stars Neil ArmstrongMichael CollinsBuzz Aldrin

December 29th, 2019|Blog, I recommend, Movies|

My studio 2019

With another decade almost upon us I think this is a good time as any to show you the current state of my studio.

It is, as always in a constant state of flux. Among the things I decided to sell this year, mainly because I wasn’t using it that much was the TB-303 “clone” Xoxbox, the Strymon El Capistan pedal and one or two modules for my modular setup. New stuff in the studio includes the Arturia Beatstep Pro and a CV.OCD which I’m using for controlling my analog gear.

Also I got the HYVE I signed up for during their succesful Kickstarted project. Haven’t used it in my music yet but I’m sure I will find a spot for it in an ambient tune soon. Here is a video from last spring where I’m trying it out.

Another fun little toy, a micro-sampler that I think I actually bought in 2018, but haven’t really used yet is the Teenage Engineering PO-33 KO. Might find some use for it now when I’m working on my next album (More info about that in a later post).

On the same note I also got some stuff to use for voice recording. I have an old Røde NT 2 microphone that I’ve rarely used because it was always such a hassle. A Heavy Duty Studio Arm Mic Stand, a SubZero XLR to USB Signal Converter/Mic Preamp and a SubZero Portable Vocal Booth Isolation Ball makes it super easy now. Whenever I want to add some vocals, words or whatever to a song, I just pull out the Mic Arm, turn on the preamp and I’m ready to record.

And finally I threw out my old, very worn-down chair and got the HÅG Capisco 8107. My back thanks me for it. It’s probably the most ergonomic stylish chair in the world. Got it for a bargain price at an online auction.

Click here to listen to music I made on this eqipment


XAKK Studio

XAKK Studio

XAKK Studio

XAKK Studio

December 25th, 2019|Blog, Hardware, Studio|

Latest round of modded DMG-01 finished: Meet Yellow, Gray and Black

I recently finished another round of modded Game Boy DMG-01.

As usual I kept the original shells as they are in a very good shape with very little scratches or other signs of use. The usual mods were implemented – no reason to change a working concept I think. Video: White backlight and Bivert chip which means you can actually see the action on the screen. Mods for better audio: Prosound mod to the headphones jack, Bass Boost mod and decoupling capacitor mod on the power regulator.


Game Boy DMG-01 Yellow

Original yellow Play-it-loud Shell with new gray plastic screen cover.


Game Boy DMG-01 Gray

Original gray Play-it-loud Shell with new gray glass screen cover.


Game Boy DMG-01 Black

Original black Play-it-loud Shell with new black plastic screen cover and beautiful organge transparent buttons.

November 24th, 2019|Blog, Gameboy, Modding|

What I’m listening to at the moment: Space Dimension Controller, Underworld, Vince Watson, Jacques Greene

The last couple months have been unusually slow for finding really good new music on Spotify. Still when I go through my list of recently hearted albums there are four entries that stand out above the rest.

Space Dimension Controller – Love Beyond the intersect

The first one is a concept album from Space Dimension Controller aka Mr 8040, bringing us fresh galactic funk from the edges of the universe. As expected, the retro feels runs strong on all the tracks. Think late 70’s, early 80’s funky space disco, vocoder included. If you like this, you should also check out his album Welcome to Mikrosector-50 from 2013.

Underworld – DRIFT Series 1

My all-time favorite Underworld recently released the final compilation of all the material from their DRIFT EPs.

Not everything here is top notch but there are still enough gold nuggets to say this is the best I have heard from them in close to 20 years. My fav piece of Karl Hyde lyrics is from the short track Mile Bush Pride. It’s the perfect example of describing as much as possible with as little words as possible.
Just listen to this: “Fierce beauty in the dance hall. One-time raiser of hell. Copper blonde. Skin in tight black.”
Beatiful.

Vince Watson – DnA

Next up is Glasgow producer Vince Watson – DnA, which was actually released earlier this spring. 18 tracks of glorious Detroit techno and classic deep house.

Jacques Green – Dawn Chorus

Finishing off with something perhaps a bit more accessible but still oozing with quality, good melodies and well-crafted beats. Dawn Chorus by French-Canadian producer Jacques Green. Although there are several gems on this album, my fav track has to be old-school Acid House-tinted Night Service.

November 17th, 2019|Blog, I recommend, Music|

Photos from my recent trip to Japan, Part 3: Fushimi Inari hike

It’s time for part three with photos I snapped in Japan. These are some of my best shots from the Fushimi Inari hike, which is a 3-4 hour walk up and down a small mountain, through over 10 000 orange-red gates. Beautiful scenery, lots of history. A must-see when you are in Kyoto. Not too difficult to do and very rewarding. Just make sure to be there as early as possible in the morning as it tends to become more crowded the further into the day you get.


Large gates at Fushimi Inari

Another stone dog at Fushimi Inari

Stone dog at Fushimi Inari

Fushimi Inari

Closeup at Fushimi Inari

Fushimi Inari

Fushimi Inari

Fushimi Inari

Small gate at Fushimi Inari

October 14th, 2019|Blog, Japan, Photography|

Photos from my recent trip to Japan, Part 1: Osaka

I recently got back from a one week trip to Japan. My main reason to go there was for my friends wedding, but I also got time to visit some really cool places. Here are my best photos from an afternoon and evening in Osaka, more specifically in the areas Dōtonbori and Shinsekai. I really really like the laidback vibe in Osaka and of course it has some amazing spots if you want to use your camera.

All of my photos were taken with an Huawei P30 Pro mobile phone. I’m trying it out as an possible replacement for my old system camera. So far I’m very impressed with the results. It’s not perfect all the time but it supports RAW format and I don’t need to switch lenses depending on of  I want to take closeups, wide-angle or night photos.

And of course, the best camera is always the one you have with you.


Dōtonbori, Osaka

Dōtonbori, Osaka

Dōtonbori, Osaka

Dōtonbori, Osaka

Shinsekai, Osaka

Shinsekai, Osaka

Shinsekai, Osaka

Shinsekai, Osaka

Shinsekai, Osaka

Shinsekai, Osaka

Shinsekai, Osaka

Shinsekai, Osaka

Dōtonbori River, Osaka

Dōtonbori River, Osaka

October 11th, 2019|Blog, Japan, Photography|

What I’m listening to at the moment: Datach’i, MOTSA, Gëinst, Lee Burridge

It’s time for another ‘Here’s what I’m listening to’.
These are some of the albums that I have gravitated towards for the last month or so. All within the spectrum of electronic music.
All with my personal stamp of approval.

First out is Bones by Datach’i, aka Joseph Fraioli from Los Angeles, California. Friends of glitchy probability electronica have probably heard his music before, his first release 10110101=[rec+play] was 20 years ago. Very well produced with interesting textures and unexpected twists and turns. An album for special moments.


Next up, dreamy synth based pop. MOTSA is a new discovery for me. His debut album Perspectives was inspired by his acute awareness of modern society’s dependence on technology and the social media bubble also responsible for globally polarizing our current civilization. The highlights on this album are No Fear (with David Österle), Harp Enough, Rolling Back (Madeline Kenney) and Salvation (with David Österle).


Techno time. Gëinst produces music mainly inspired by nature. Released in 2018, Gallery is all about beautiful drones and ambient sounds soaked in bass. Long journeys into sound. Basic Ambient Techno that I enjoy very much. More of this please.


We finish with Melt, another fine release on All Day I Dream by the man himself, Lee Burridge together with Lost Desert. Deep technicolor emotionalism for lazy days by the pool, sunset or sunrise. Comforting Deep House at its finest.

August 31st, 2019|Blog, I recommend, Music|

Game Boy DMG-01 modding step by step guide

Last update: January 5, 2022

Game Boy Modding & RepairsGood news, everyone. I wrote a book about Game Boy modding and Repairs.

The thing is, I was going to update this page since it’s the single most visited page on my site. But as I kept writing it became larger and larger, because I wanted to cover all the tips and tricks that I have learned over the years. After a while, I had written so much and taken so many new photos that I got the idea to turn it into a book instead. So there you have it.

It’s called Game Boy Modding and Repairs: A step-by-step guide for beginners. I hope you want to support me and check it out. It’s an e-book that works on your mobile phone, tablet, Kindle, etc and it’s only $10.59.

The step-by-step guide

Here is a step-by-step guide for modding the classic Game Boy DMG-01. Instead of going into details about the obvious mods, like replacing the screen (cover), buttons, and silicon parts, I will focus on the more technical aspects of modding. Got any questions not covered in this tutorial? Check out my book, or go to my official Facebook page, click like and ask me. Also, don’t forget to check out my music on Spotify.

Procedures

How to install a backlight
How to install a bivert chip
How to do the Prosound to headphones mod
How to do the bass mod
How to do the Decoupling capacitor on the powerstrip mod
Final results

What you need before getting started

  • Game Boy DMG-01
  • Soldering iron or Soldering station, preferably one with variable temperature
  • Solder wire
  • Desolder braid
  • Scalpel
  • Tri-point Y1 screwdriver
  • Cross screwdriver
  • Wire
  • Flush cutter
  • Isopropanol
  • Cotton swabs
  • Polishing cloth
  • Game Boy Backlight kit
  • Game Boy Bivert chip
  • 1 Electrolytic capacitor 1000uF, 10V minimum
  • 2 Electrolytic capacitors 10uF, 10V minimum

How to install a backlight

1. Remove the polarizing film and reflective layer on the backside of the screen

Open up your Game Boy and remove all the screws from the two boards, then pull out the ribbon cable connecting the two halves.

Remove the two small screws below the screen. Carefully lift up the screen using a screwdriver or a small spatula tool in the little notch in the top of the plastic frame. There will be a little resistance because of two small adhesive pillows on the inside. When you have pulled up the screen enough to see them both, carefully remove them with a pair of tweezers.

Now you are going to pull off the polarizing film and reflective layer while trying not to break the screen and the solder points underneath the screen. This part can be a bit tricky so if it’s your first time I recommend first try it out on the screen that is already broken beyond repair, for example, one with screen cancer.

Game Boy Backlight mod

The polarizer and reflective layer are glued together.  You will remove both of them in one take by inserting a sharp knife like a scalpel in the top left corner. The trick not to scratch the screen is to press in the knife just a few millimeters where the layers meet the glass. Then use the knife, carefully pushing the material away from the screen so that it opens up a corner big enough for you to grab with your thumb and index finger. Once you can grab it, start slowly pulling away more by moving your thumb inwards and along the sides of the screen.

The process of removing the polarizer and reflective layer can be anything from quick and simple to very hard, depending on the stickiness of the glue. I have found that the newer models of the DMG-01, the so-called Play it loud editions usually are the easiest ones to work with, in terms of removal time and amounts of glue that are left to be dealt with afterward.

Try not to exert too much force on the screen so that it bends. If it bends too much it will snap and become unusable. That happened to me once. That popping sound is not something I would like to hear ever again when doing a backlight mod… Also, try not to put too push the screen too much away from the frame as this may damage the fine solder points under the screen. More about that later.

Game Boy Backlight mod

Here you can see how I have slowly and carefully worked my way towards the other side of the screen.

2. Clean the screen

With the polarizer layers finally off, in best case scenario there is almost no glue on the screen. The cleaning process can take anything from 10 minutes to an hour depending on the amount of glue left on the screen.

Use plenty of Isopropanol and cotton swabs in a circular motion to loosen up the glue and then drag the bits of glue off the screen. You may have to go through three to twenty cotton swabs depending on how much glue is left. The goal here is to remove all of it and that may take some time if you are unlucky.

Game Boy Backlight mod

When all the glue has been removed, there will still be some residue from the isopropanol on the screen. Clean that off with a very fine polishing cloth, like the one you would use to polish a car. Do not use toilet paper or something like that since that could scratch the inside of your screen. I use a technique where I apply some of my breath to it and quickly and carefully clean with the polishing cloth.

Game Boy Backlight mod

When you have cleaned and polished the inside of the screen it should look like this. You should see no streaks, dots, smudges or fibres left from the cotton swabs, even if you hold it up to the light.

3. Cut a hole in the plastic frame for the backlight connector

Use a small wirecutter tool to cut off a bit of the plastic big enough for the backlight connector to fit.

Game Boy Backlight mod

4. Solder the resistor and wire

I always use backlights from Deadpan Robot. It comes with a resistor that needs to be soldered to the connector where it says plus (+).

I have found that doing it like depicted in the picture below is the easiest and fastest way. Solder the resistor directly to the connector on the backlight and then bend it almost 90 degrees to the right.

Game Boy Backlight mod

5. Install the backlight and solder the resistor and other wire to the board

Install the backlight by sliding it into the plastic frame under the screen. Remove the protective sheets on the polarizer and slide it in over the backlight, making sure you don’t scratch it. On the backlight type I use there is a blue stripe on the polarizer which indicates its backside. Also, make sure the screen becomes dark blue after you have inserted the polarizer. If it’s not dark blue then take it out again, flip it 90 degrees and insert.

Now solder the resistor and the black wire to the board, like in the image below. It’s easier if you use a pair of tweezers to hold them in place as you solder. You may need to apply some new solder to make them stay.

Reconnect the CPU board with the display board, put them in your case without screwing everything back together, insert batteries and start up the Game Boy to see if it’s working. If it doesn’t look anything like the image below then something is wrong.

Game Boy Backlight mod

Closeup of the solder points for the backlight

How to install a bivert chip

Now it’s time to put in the bivert chip. This will make the Game Boy video look crispier and with less ghosting. The bivert chip is pre-installed on a tiny circuit board that you just solder in place.

1. Desolder pins 6 and 7 on the video connector

Locate the video connector and desolder pins 6 and 7, as shown in the image below. I have tried different techniques on how to desolder them without breaking anything. I’ve found that the quickest way is to press a scalpel to one of the solder joints, then hold the tip of the soldering iron on it, while I gently prying the scalpel underneath it. The goal here is to bend the two pins upwards and break their existing connection to the board.

2. Solder the pins to the bivert chip and the other solder points

When both pins 6 and 7 are de-soldered and slightly bent upwards I put in the bivert chipboard and re-solder both pins to it. It’s pretty small and tricky so you may need to use a magnifying glass here. When both pins are soldered I then continue with the other four points on the bivert chipboard.

Game Boy Backlight and Bivert mod

3. Reconnect the Game Boy

It’s time to see if the video is still working. If it looks like the image below then you are in the clear.

Game Boy Backlight and Bivert mod

How to do the Prosound to headphones mod

With the pro sound mod, you get a better-sounding Game Boy. It’s done by sending the sound directly to the headphones, bypassing some internal circuitry that otherwise adds unwanted noise.

Game Boy Prosound mod

This one is so easy I won’t write a step by step for it. Just cut and remove the two black wires shown in the image. Then solder two new wires as also shown in the image.

Game Boy Prosound mod

Solder the black wire to solder point number 3 and the red wire to solder point number 4. They are pretty small so what I do first apply some solder to them. I keep the tip of the wires pretty small and apply solder to them before soldering them onto the board. Be careful not to hold the iron for very long on the solder points or you may break them. They are very tiny and delicate.

When done, reconnect the Game Boy and start it up with a game. Listen to the sound and try lowering and boosting the volume to make sure there are no crackles and other strangeness going on soundwise. Also, try out with the headphones to make sure you have sound there as well.

How to do the bass mod

The bass mod adds a bit of sub-bass in the lower ranges, like 40-50 Hz. You would typically need a good pair of headphones or a sub to notice the change, but it will definitely sound beefier on a club sound system.

Game Boy Bass mod

1. Locate the two 1 uF capacitors on the CPU board

You will find them close to the volume wheel.

Game Boy Bass mod

2. Desolder the capacitors

Turn the board and desolder the two capacitors. The easiest way is to use a desoldering braid. Make sure it’s not too big. I think the one in the image above is something like 2 – 2.5 mm wide. If possible, lower the heat on your solder station a bit, place the braid on a solder point and put the solder iron over it. These points are delicate and pretty easy to break if you apply too much heat for too long, so try to be careful with this one.

Game Boy Bass mod

3. Remove the old capacitors and solder new ones

When desoldered, it should look something like the image above. Turn the board, remove the old capacitors and put in two 10uF instead, making sure to put the leg for + where it says + on the board.

Game Boy Bass mod

4. Success

New 10uF capacitors are soldered in place and the solder joints are looking good.

Bass mod completed.

How to do the decoupling capacitor mod on the power strip

This mod is done to improve sound quality after having installed the pro sound and backlight mod.

First, you need to get hold of an electrolytic capacitor in the range of at least 500-600 uF, although I recommend going for a 1000uF. I have tried different values and found that 1000uF produces the best results, in regards to the reduction of hiss and noise.

Game Boy Decoupling capacitor mod

1. Solder wires to the capacitor

Start by soldering a black wire to the minus pin (the shorter pin) and then a red wire to the plus. Although not totally necessary I always also add a couple of shrink tubes to minimize the risk for shorts.

2. Solder the wires to the powerstrip

Locate the power strip. Solder the red wire to where it says VCC and the black wire to GND. Done!

Game Boy Decoupling capacitor mod

Final results

Before putting everything back together in the shell, make sure one last time that everything is working as it should. Put in a game and let it run for a while. When you are certain everything is OK, screw everything back together and enjoy your modded Game Boy.

I hope you enjoyed my modding guide. If you are having any problems or perhaps suggestions for things I could add to this guide, please let me know on my Facebook page. Also, I would be super happy if you could please head over to my Spotify page, and click Follow. Thank you in advance. It really means a lot to me.

Game Boy modded open

Game Boy DMG-01 modded yellow and cyan

August 18th, 2019|Blog, DIY, Gameboy, Modding, Retro|
Go to Top